
FRETZ M-133A Starting notch pile
Price
¥460.00
Excluding Tax and Shipping
Fretz Design designed fluted stakes for domes and flat bracelet surfaces.
Product Details
Fretz Design designs fluted stakes for domed and flat bracelet surfaces. The new M-133A and M-133B allow for the fluting of concave bracelets and other shapes with handmade random or uniform fluting.The M-133A and M-133B stakes are designed to be used after the project has been formed on the concave M-104 stakes.
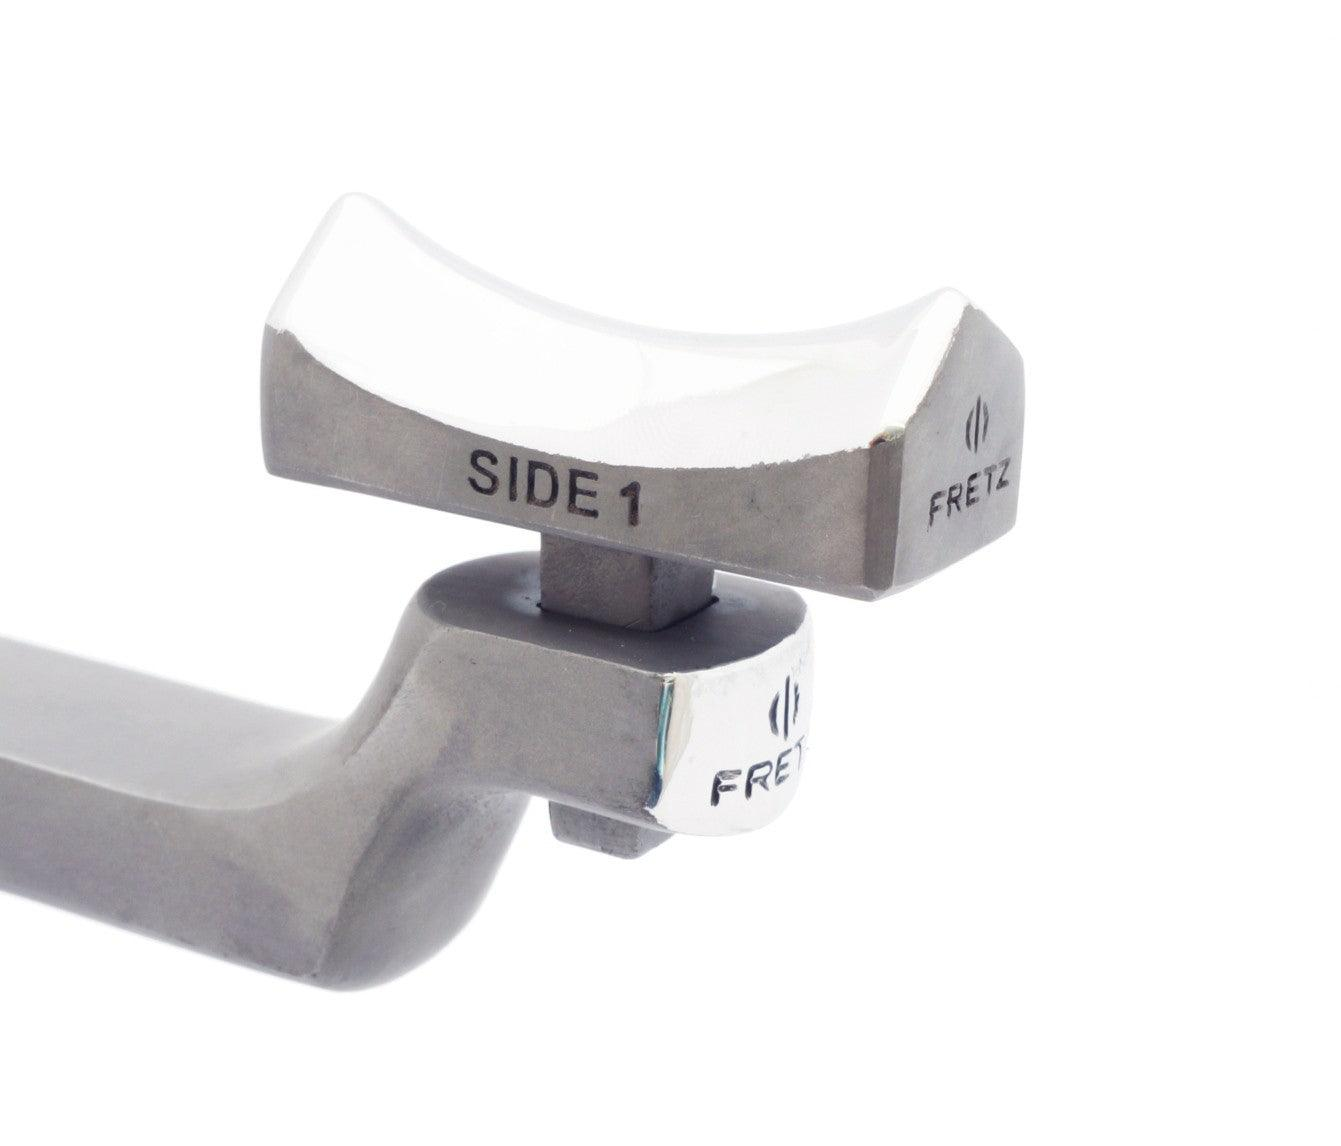
Use of M-133A
M-133A is a concave pile with a slightly rounded ridge that is used first in the grooving process. The ridge extends out of the concave side at different angles. The steeper side 1 is used when the grooves are close together or when wide, deep grooves are desired. side 2 is used for general grooving when delicate grooves are desired. Use round cross stakes, such as the Fretz HMR-8 Round Narrow Cross Stake or the HMR-9 Round Wide Cross Stake, to install stakes and leave a shiny flat surface.
First use a sharp marker to draw the desired groove line on the molded concave piece. Then place the drawn line on the pile ridge line. Plane the metal directly under the pen line and press the metal against the pile while holding the item so that there is a slight air pocket between the metal and the pile. Repeat this on both sides of each drawn line and roughly carve out the grooves on the entire surface of the item.